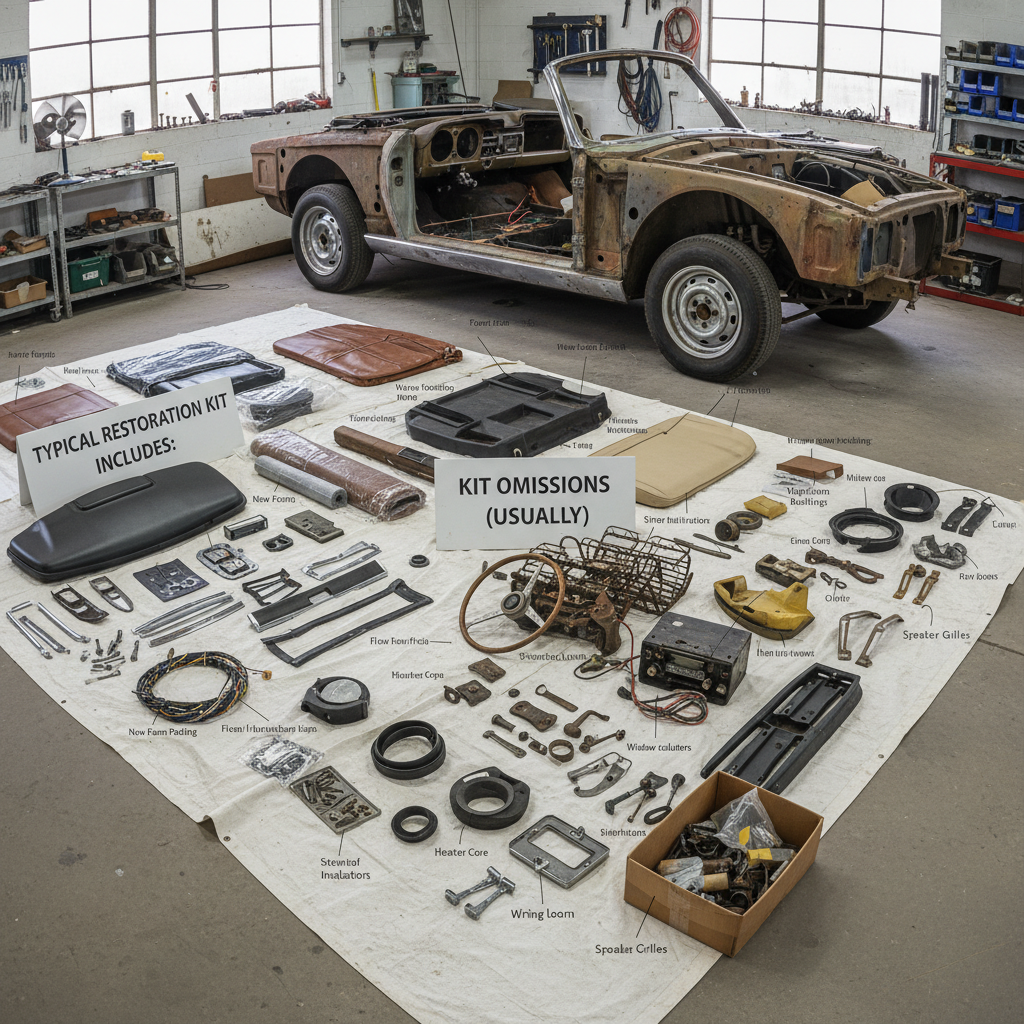
Avoiding ‘Complete Kit’ Catastrophes: The Hidden Costs & Sneaky Shortfalls of Vintage Car Interior Restorations
Ever been dazzled by a ‘complete’ vintage car interior restoration kit, only to discover it left you knee-deep in missing pieces, surprise expenses, and ill-fitting parts? You’re not alone—and you could be just weeks away from an expensive frustration spiral. Before you pull out your wallet, read this essential guide that exposes the real gaps, hidden fees, and fitment fiascos lurking behind even the most premium ‘all-in-one’ kits.
Contents
- 1 What ‘Complete’ Really Means—and What It Usually Skips
- 2 Price Anchoring: The Kit is Just the Beginning
- 3 Fitment Fiascos: Why ‘Universal’ Rarely Means Perfect
- 4 Building a True All-In Budget: What Most People Miss
- 5 Fast-Action Guide: Avoiding the ‘Complete Kit’ Trap
- 6 Don’t Wait—Scarcity and Price Rises Are Real
- 7 Ready to Upgrade? Act Now, Shop Smart
What ‘Complete’ Really Means—and What It Usually Skips
Many brands claim to offer complete interior restoration kits for classic cars, but the reality rarely matches the marketing. Take Velocity Restorations’ kits for the 1966-1977 Ford Bronco or 1969-72 Chevy K5 Blazer: they do include premium elements (like seats, door panels, dash pads, and consoles), but essentials such as carpet, sound deadening, and specialty fasteners are often only in pricey add-on packages or not included at all. For example, Velocity’s Bronco kit starts at $10,995, but if you want drop-in carpet and sound-deadening materials, expect to pay an extra $2,500—and heated seats? That’s another $2,200–$2,800[1].
Other common omissions:

- Seat foam and small hardware (bolts, clips, hidden brackets)
- Adhesives & insulation: Rarely included, but crucial for carpets, headliners, and panels
- Professional labor: Not part of any kit, but can cost as much or more than the kit itself (labor runs $100–$150/hour at top shops)[2]
- Gauge refurbs, switch bezels, and trim: Often overlooked, but vital for a truly finished look

Price Anchoring: The Kit is Just the Beginning
Most DIYers focus on the kit price—usually $3,000–$15,000 for high-quality sets. But experienced restorers warn that the all-in cost is often double the kit price when you factor in labor, tools, and specialty materials.[2][4] Here’s why:
- Professional shop labor for full interiors: $5,000 to $12,000, exclusive of materials[7][2]
- Carpet, headliner, and sound deadening not in base kits: $400–$2,500 for quality materials
- Adhesives, fasteners, and dyes: $150–$500
- Tools (hog ring pliers, rollers, heat guns): $100–$400 initial investment if not already owned
- Shipping and tax on oversized items: Up to $500+ depending on kit size
Case Study: All the Little Extras Add Up
One YouTuber budgeting for a mid-tier restoration spent $730 on interior ‘parts’—not including installation, tools, or labor. When he tallied up everything from new seat foams to armrest screws, his “bargain” kit wound up costing more than local custom upholstery, and it still required hours of DIY labor[3].

Fitment Fiascos: Why ‘Universal’ Rarely Means Perfect
One of the biggest rookie mistakes is trusting that a ‘complete’ kit will fit your exact vehicle. Even reputable brands can’t account for decades of previous repairs, subtle model-year changes, or regional factory differences. Common fitment headaches include:

- Seat bolt patterns that don’t match original floors
- Door panels misaligned with window cranks or locks
- Dash pads and consoles that require custom trimming or bracket fabrication
Always read the full kit contents list—and compare it line-by-line with your car’s original trim code and assembly diagrams. Check for user reviews that mention fitment; beware any kit with lots of returns or “universal” claims.
How to Vet a Kit Before You Buy
- Ask for a complete written inventory with part numbers and materials
- Double-check color names and codes (OEM ‘tan’ varies hugely by year and model)
- Request installation instructions in advance—lack of detail is a red flag
- Use enthusiast forums for photo comparisons and common pitfalls
- Look for brands with strong warranty and customer support (Velocity, YearOne, TMI Products, Legendary Auto Interiors)
Building a True All-In Budget: What Most People Miss
To avoid sticker shock, create a detailed line-item budget:
- Kit price (including upgrades)
- Shipping, tax, and import duties (if applicable)
- Tools (factor in any rentals or purchases)
- Adhesives, insulation, and fasteners
- Professional labor (get at least two written quotes)
- Unexpected extras (plan for 10-20% overage for hidden repairs and missing pieces)
Pro Tip: Don’t Forget the Sound Deadening
Modern kits rarely include quality sound deadener—yet this step transforms the final result. For example, Dynamat or Hushmat installation adds $300–$1,000 depending on coverage, but dramatically improves comfort and resale value.[1]

Fast-Action Guide: Avoiding the ‘Complete Kit’ Trap
- Audit your interior: Make your own detailed inventory before shopping—don’t assume any kit is truly complete.
- Research user reviews: Look for installation photo threads, not just star ratings.
- Double-check fitment with vendor support—send photos if needed.
- Budget for labor, adhesives, sound deadening, and tools—then add a cushion for surprise costs.
- Consider premium brands if you want OE fit: Velocity, TMI Products, Legendary, YearOne, and Distinctive Industries are consistently recommended by expert restorers.
Don’t Wait—Scarcity and Price Rises Are Real
With supply chain challenges and surging demand, the best restoration kits are often backordered or have price increases pending. If you’ve been eyeing a major interior overhaul, get your quotes and lock in your order ASAP—the cost of waiting is rising fast, and missing a production batch can mean months of delays.
Ready to Upgrade? Act Now, Shop Smart
Don’t let glossy catalogs and “complete kit” promises leave you with half a job and double the cost. Use the checklist above, demand detailed inventories, and build a realistic all-in budget. Need help? Contact a specialist supplier or upholstery pro before clicking ‘buy.’ Trust the research, dodge the common mistakes, and transform your vintage ride’s interior the right way—without the hidden headaches.